As the wearable market expands and turns out to be the next major focus of App developers, I thought to walk you through a sample project that will elucidate how can you use App42 Push Notification API in different ways to send Push Notifications on the phones and also sync them with Android Wearables. As we go further, I would like to recommend reading Getting Started with Android Wear.
Click To Tweet

Different types of push messages are listed below.
1. Basic Push Notification
2. Image based Push Notification
3. Big Content Based Push Notification
4. Multiple Page based Push Notifications
# Running Sample
This is a sample Android app, which is created using App42 API. Here, are a few easy steps to run it.
1. Register/Login with App42 platform and create an App from App Manager Tab.
2. Download project and unzip it.
3. Configure with Eclipse that has latest ADT (Android Developer Tool).
- Import the project in Eclipse
- Check Android dependencies and Android private libraries in order and import section on Build Path
4. Configure with Android Studio.
- Import this project in your Android Studio
- Add library jar files from libs folder by adding library modules in Android Studio
5. Make these changes in MainActivity.java file of sample.
- Replace API-Key and Secret-Key that you have received in step 1 at line number 39 and 40
- Replace your user-id by which you want to register your application for Push Notification at line number 31
GCM (Google Cloud Messaging) Integration
6. Create a project and get its number from Google developer console. This would be available in Overview section of the project that you have created.
7. Now, select the project that you have created and click on APIs option in Google developer console & enable Google Cloud Messaging for Android service.
8. Click on Credentials (in APIs option) given on left menu -> Create New Key -> Server Key.
9. Accept requests from these server IP addresses as blank and click on Create button.
10. Go to AppHQ Console to click on Push Notification and pick Android Settings in Settings option.
11. Pick GCM provider for your App and copy the server key that is generated in Google developer console (as given in the above step and submit it).
12. Put your Google Project No at line no 90 in MainActivity.java file.
13. Build your Android application and run it on your device (version of your device should be 4.4 or above to support Android Wear Notification and Android Wear Connection).
14. To connect Android wear on your mobile go through Android Wear Getting Started.
15. You can test the App on Android wear simulator.
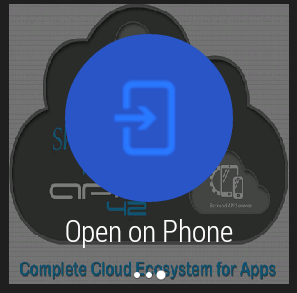
16. When you will click *Open on Phone* on your Android Wear, notifications will open on phone.
Design Details
1. Registration for Push Notification: To register your GCM id for Push Notifications on App42, you have to use the method written in App42GCMService.java file.
2. Send Push Notification to user: You can also send different types of Push Notifications using single API and configure accordingly.
3. Build different types of Push Notification messages before sending them to the users: The entire sample code is written in Utils.java file in sample project.
- Basic Push Notification View Source Code Hide Source Code
- Image Based Push Notification (Image should reside in assets folder of the sample) View Source Code Hide Source Code
- Big Text Based Push Notification View Source Code Hide Source Code
- Multiple Page Based Push Notification View Source Code Hide Source Code
4. Send Push Notifications from AppHQ Console: You can also send Push Notification JSON messages from AppHQ console.
- Select Push Notification section in left panel
- Click on User option and select your application
- Select a user from registered users list and click on Send Message button
- Choose your JSON message from the step mentioned above and drop it in the message box. Later, click on Send button
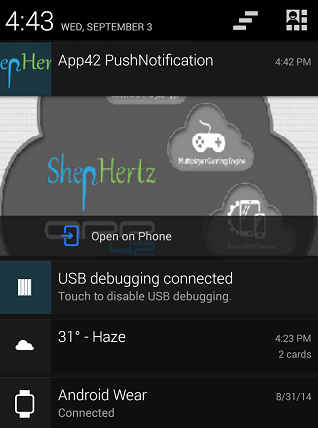
- Now, you will be able to see Push Notification in your device as well as on the connected Android Wear
5. Parse Push Notification message when received on device: When the Push Notification message that we sent in the above step is received on Android device, we have to parse the notification accordingly. This code is written in Utils.java file of the sample project.
6. Build Notification UI for Android Wear and device: After parsing the message in the above step, you have to build Notification UI based on the type of message. The sample code for Notification UI is written in the NotificationBuilder.java file.
- Building Common Wearable Notification UI View Source Code Hide Source Code
- Add Action on Notification Click View Source Code Hide Source Code
- Building basic Notification UI View Source Code Hide Source Code
- Building Image based Notification UI View Source Code Hide Source Code
- Building Big Text based Notification UI View Source Code Hide Source Code
- Building Multiple Page Notification UI View Source Code Hide Source Code
7. Open on phone: You can open your application on phone by selecting *Open Phone Option* in Android Wearable.
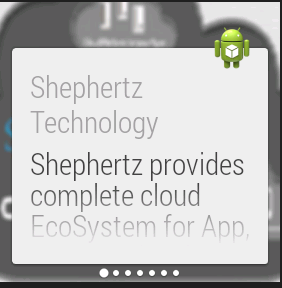
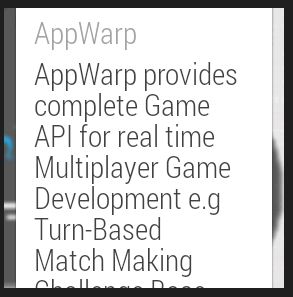
8. Screen Shots: Here are some screen shots for different types of Push Notifications in App42. In this blog, I have explained about how can App42 Push Notifications can be used on Android Wear as well as on other devices like phones in several ways.
| Basic Notification | Basic Image Notiification |
 |
 |
| Multiple Page Notification | Open on Phone Action on Android Wear |
 |
 |
| Multiple Notification Page1 | Multiple Notification Page2 |
 |
 |
| Notification on Android device | |
 |



Leave A Reply