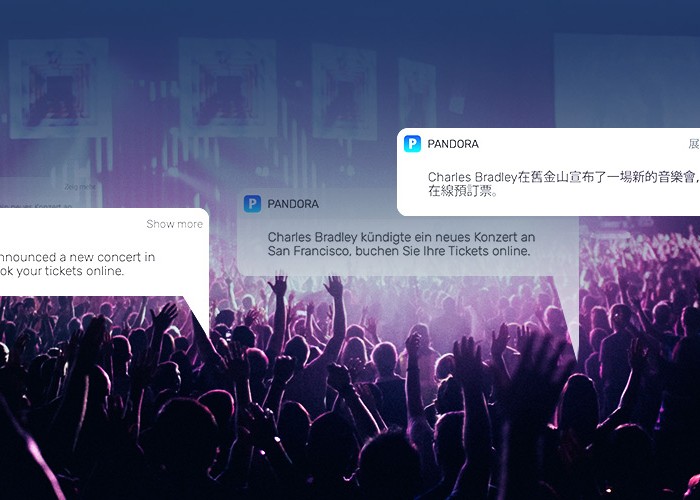
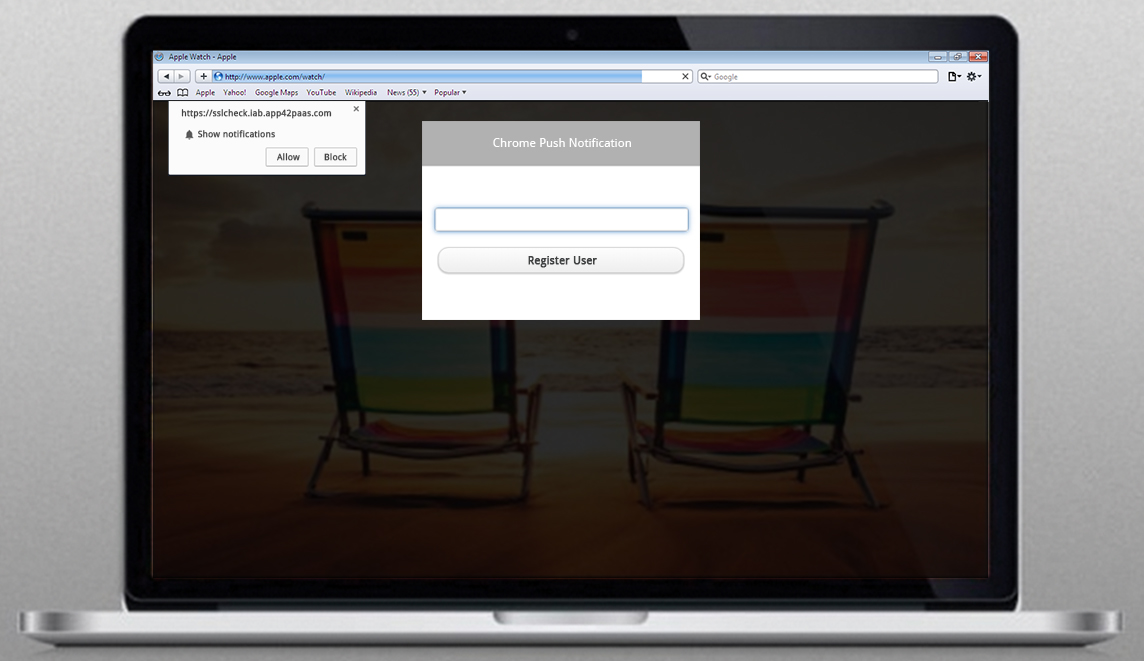
Android Push Notification is one of the widely used features to increase user engagement in Android mobile Apps. Although it’s an extremely useful feature but it’s also a bit tricky to implement. Therefore, in this post we are going to explain how this feature can be used for your Android App. Below is the sample Application which will get you started immediately.
About Application
This application shows how can we integrate our application for PushNotification using App42 API.
Running Sample
This is a sample Android App which has been made by using App42 backend platform. It uses Push Notification API of App42 platform. Here are the few easy steps to run this sample App.
1. Register with App42 platform.
2. Create an App once you are on Quick start page after registration.
3. If you are already registered, login to AppHQ console and create an App from the App Manager Tab.
4. To use Push Notification service in your application,create a new project in Google API Console
5. Click on services option in Google console and enable Google Cloud Messaging for Android service.
6. Click on API Access tab and create a new server key for your application with blank server information.
7. Go to AppHQ console and click on Push Notification and select Android Settings in Settings option.
8. Select your App and copy the server key which was generated by using Google API console in the step 6, and submit it.
9. Download the project from here and import it in the eclipse also add google_play_service as a library project.
10. Open MainActivty.java file in sample App and make the following changes.
Replace api-Key and secret-Key that you have received in step 2 or 3 at line number 43 and 44.
Replace your user-id by which you want to register your application for PushNotification at line number 46.
Replace project-no with your Google Project Number at line number 30.
11.Build your android application and install it on your android device.
Test and verify PushNotification
After registering for PushNotification go to AppHQ console and click on Push Notification and select
application after selecting User tab.
Select desired user from registered UserList and click on Send Message Button.
Send appropriate message to user by clicking Send Button.
Send Message using App42 API : If you want to send PushNotification message using App42 API , pass the userId and message in the below method .
PushNotificationService pushService=App42API.buildPushNotificationService();
pushService.sendPushMessageToUser(userId,message);
Customize PushNotification Message: You can also customize your PushNotification message by changing following code in App42GCMService.java file accordingly.
Notification notification = new NotificationCompat.Builder(context)
.setContentTitle(title)
.setContentText(message)
.setContentIntent(intent)
.setSmallIcon(icon)
.setWhen(when)
.setLargeIcon(getBitmapFromURL(LARGE_IMAGE_URL))
.setLights(Color.YELLOW, 1, 2)
.setAutoCancel(true)
.build();
notificationManager.notify(0, notification);
Change Message Activty: You can navigate to desired Activty when message is open. For this you can replace MainActivitywith that Activty in AndroidManifest.xml file.
With the above mentioned steps, your App will be set up to receive/send push notifications on your Android Device using App42 Push Notification Service. For more details about Android Push Notification visit here.
It would be great to hear the views from the readers of this blog. In case you have any more questions or need any support, please feel free to reach out to us at support@shephertz.com.


Leave A Reply