In this post, I am going to walk you through the installation and configuration of App42 Client to manage your application on App42 PaaS.
The App42 Client provides Command Line interface to perform tasks such as creating a new infrastructure, checking environment, deploying your application, scaling / descaling and many other management and monitoring tasks.
Installation of App42 Client is pretty straight forward as it is distributed as a Ruby gem. Let us start by making sure that Ruby is installed on your system and it is of the right version. Check your current ruby version by running the command:
$ ruby -v
Note: App42 requires Ruby 1.9.3 or a newer version
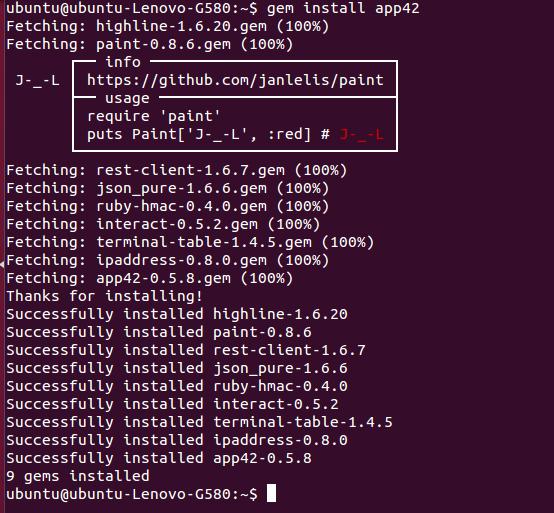
If Ruby is not installed on your system, I will recommend you to follow our App42 PaaS Getting Started Guide. To install Ruby, follow the steps as per your desired operating system. Once you have installed, or you already have the right version pre-installed, install App42 Client. Now open your command prompt and run the below command:
$ gem install app42

To verify your App42 Client installation, use the App42 version command:
$ app42 version

Congratulations, App42 Client is now installed on your system. To access App42 PaaS application platform, you need to configure your App42 client by adding your API key and Secret key from your console, which you must have got during registration.

Visit our DevCenter to know more. If you have any questions or need further assistance, please feel free to reach out to us at support@shephertz.com


Leave A Reply