Swift is a new programming language released by Apple at WWDC few days ago and here we are announcing AppWarp’s support for it. The post below is inclusive of the FightNinja Sample developed in the language using SpriteKit. To know more about Swift, I recommend you to go through the Apple’s Swift reference book.
As Swift is designed to provide seamless compatibility with Cocoa and Objective-C, you can easily add 3rd party libraries like AppWarp to your project.
To import an external framework in your Swift project, you have to rely on an Objective-C bridging header to expose the framework’s APIs to Swift. Xcode offers to create this header file when you add an Objective-C file to an existing project.
Integrating AppWarp SDK in your Swift project is a 4 step process as mentioned below.
1. Add AppWarp Framework to Swift Project
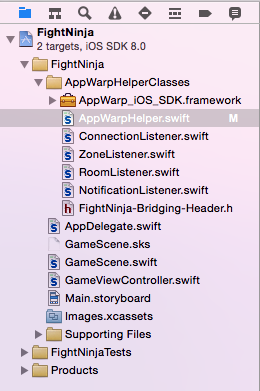
– Open your project in Xcode, Drag and Drop AppWarp framework under your project. As you will not find a Framework’s group here, I recommend you to create a new group and add the framework to it as shown below.
2. Create Bridging Header
– Add a new Objective-C file as : File -> New -> File -> CocoaTouch Class -> Next
– Provide a file name, Choose Objective C as the language and click on Create
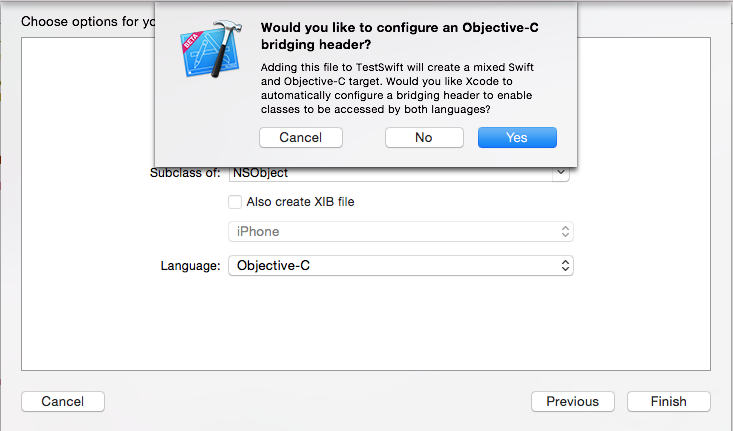
– Now, when you will be asked to create a bridging header, Click on Yes
– Delete the Unused .m and .h file you have created as we only need the bridging header
– In the bridging header file that you created above, add the Objective-C import statement for the AppWarp framework to expose AppWarp’s APIs i.e.
#import
– Now, you can start using AppWarp in your Swift project
3. Initialize AppWarp
Initializing AppWarp is nothing but provides the following.
– AppWarp credentials i.e. API_KEY and SECRET_KEY that you have received after you created the project on AppHQ Console
– Listeners to receive callbacks to get responses from the AppWarp Server
In the sample, we have created classes that conform to AppWarp Listener protocols and define the respective callbacks. For example, Sample has ConnectionListener class that conforms to AppWarp’s ConnectionRequestListener Protocol and defines onConnectDone callback to receive connection related responses from the AppWarp Server.
An example is given below to explain all that you need to do to initialize AppWarp.
func initializeWarp()
{
  WarpClient.initWarp(api_key, secretKey: secret_key)
  var warpClient:WarpClient = WarpClient.getInstance()
  var connectionListener: ConnectionListener = ConnectionListener()
  warpClient.addConnectionRequestListener(connectionListener)
}
In the same fashion, you can create other listener classes like RoomRequestListener, NotificationListener etc. and add to the AppWarp to receive respective callbacks.
4. Connect to AppWarp
By providing a user name, you can connect with AppWarp Server as follows:
func connectWithAppWarpWithUserName(userName:String)
{
  let uNameLength = userName.lengthOfBytes(using: String.Encoding.utf8)
   if uNameLength>0
{
   let warpClient:WarpClient = WarpClient.getInstance()
   warpClient.connect(withUserName: userName)
}
}
You will get the response in onConnectDone callback of the ConnectionListener class.
Further, you can proceed as per the game requirements like creating / joining / subscribing rooms, handling notifications, sending chats or updating moves etc.
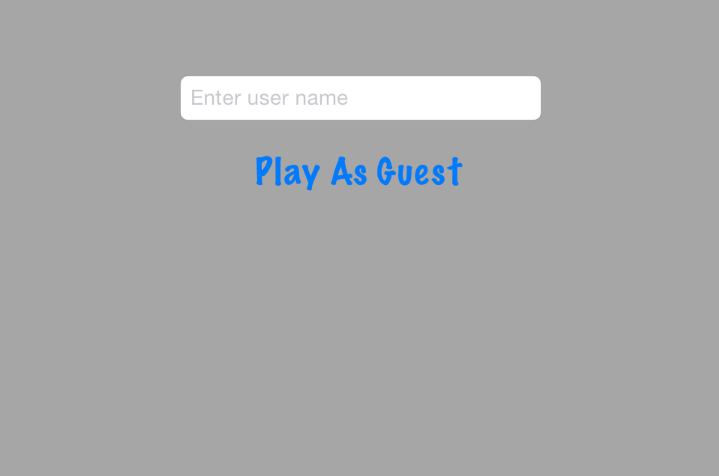
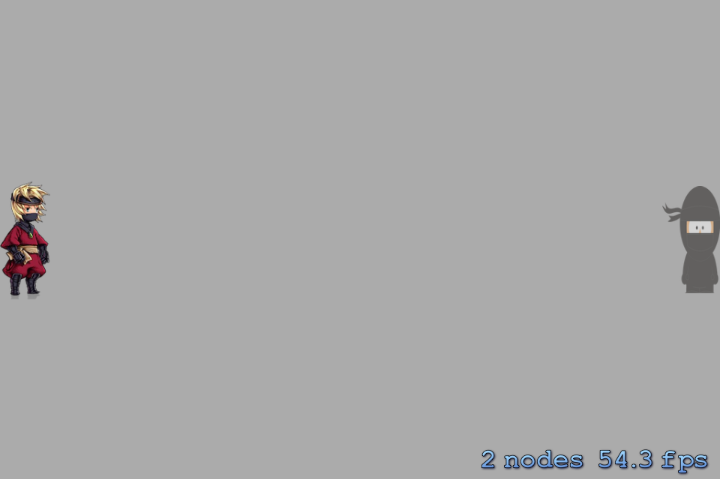
Sample has a two player real-time battling game. When you tap on Play As Guest, it will try to connect with AppWarp Server. If connected successfully, it will try to join a room with user range 0-1 and If in case there is no room with in given specifics, it will try to create a room to join. Once you have joined a room successfully, you will be navigated to the next scene, i.e. game scene. When you tap on the screen, you will be able to fire the bullets on the enemy.
To get familiar with the syntax of using AppWarp with Swift, you can go through our Sample Source Code.
If you have any questions or need any further assistance, please feel free to write us at support@shephertz.com


Leave A Reply