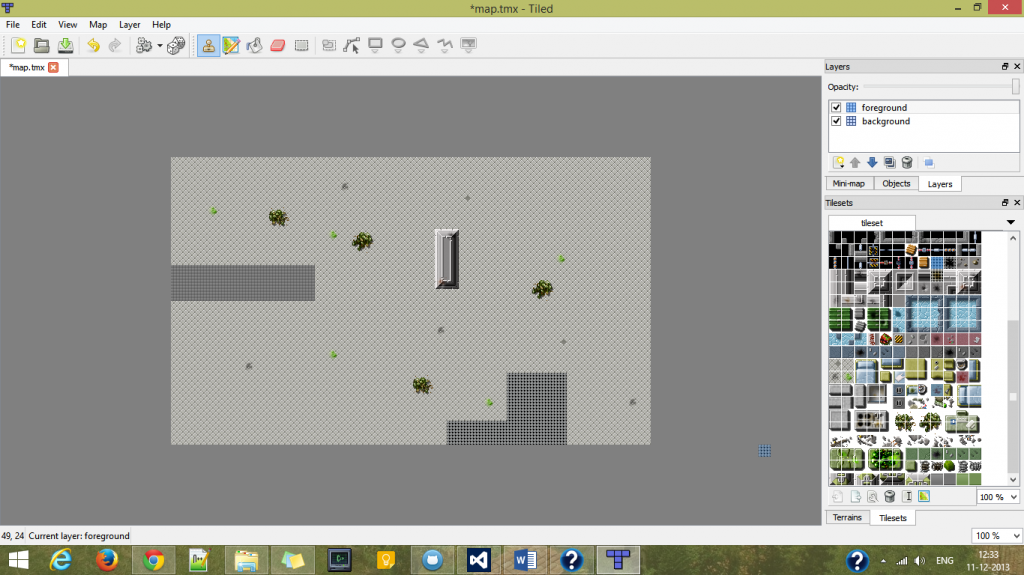
Tile Map is a large graphical layer composed of small images called Tiles. Since tile maps re-use a number of small images, they save a lot of ram space and also improve real time game performance. For this reason, Tile Maps have been used in several games.
All the small tiles are packed in a single sprite sheet resulting in more optimized usage of ram and file I/O operations. On run time, the game maps tiles from the sprite sheet into a large graphic using information stored as 2D array.
To use Tile Maps, one needs a map editor to create those maps and a tile engine to render them. One such popular tile map editor is Tiled. Tiled Map Editor exports maps in TMX format. Cocos2dx already has in-built support for TMX maps.
First download Tiled and create a map in it.

Now place the tmx file and corresponding image in your resources/assets folder.
Cocos2dx provides a special class `CCTMXTiledMap` to add tmx maps to your layer.
To add TMX map create an instance to CCTMXTiledMap with the path to tmx file.
bool GameLayer::init()
{
  if (!CCLayer::init())
    return false;
  this->schedule(schedule_selector(GameLayer::update));
  CCTMXTiledMap *map = CCTMXTiledMap::create("maps/map.tmx");
  addChild(map, 0);
  return true;
}
Now you scale, rotate, move your map like you do it with any node in Cocos2dx.
Your map might be larger than screen, in that case you will need to make camera follow your player. Cocos2dx already provides this feature. You can use CCFollow action to make camera follow your player:
bool GameLayer::init()
{
  /*
  Some Code Here
  */

  this->runAction(CCFollow::create(player, map->boundingBox()));

  /*
  Some Code Here
  */

  return true;
}
If you have any questions or need any further assistance to integrate this, please feel free to write us at support@shephertz.com


Leave A Reply